*This article may contain affiliate links to retail sites, such as Amazon. Using these links won't cost you additional money, but I may earn a small amount with each purchase. Earnings go to help cover the cost of this website, and I thank you for your support!
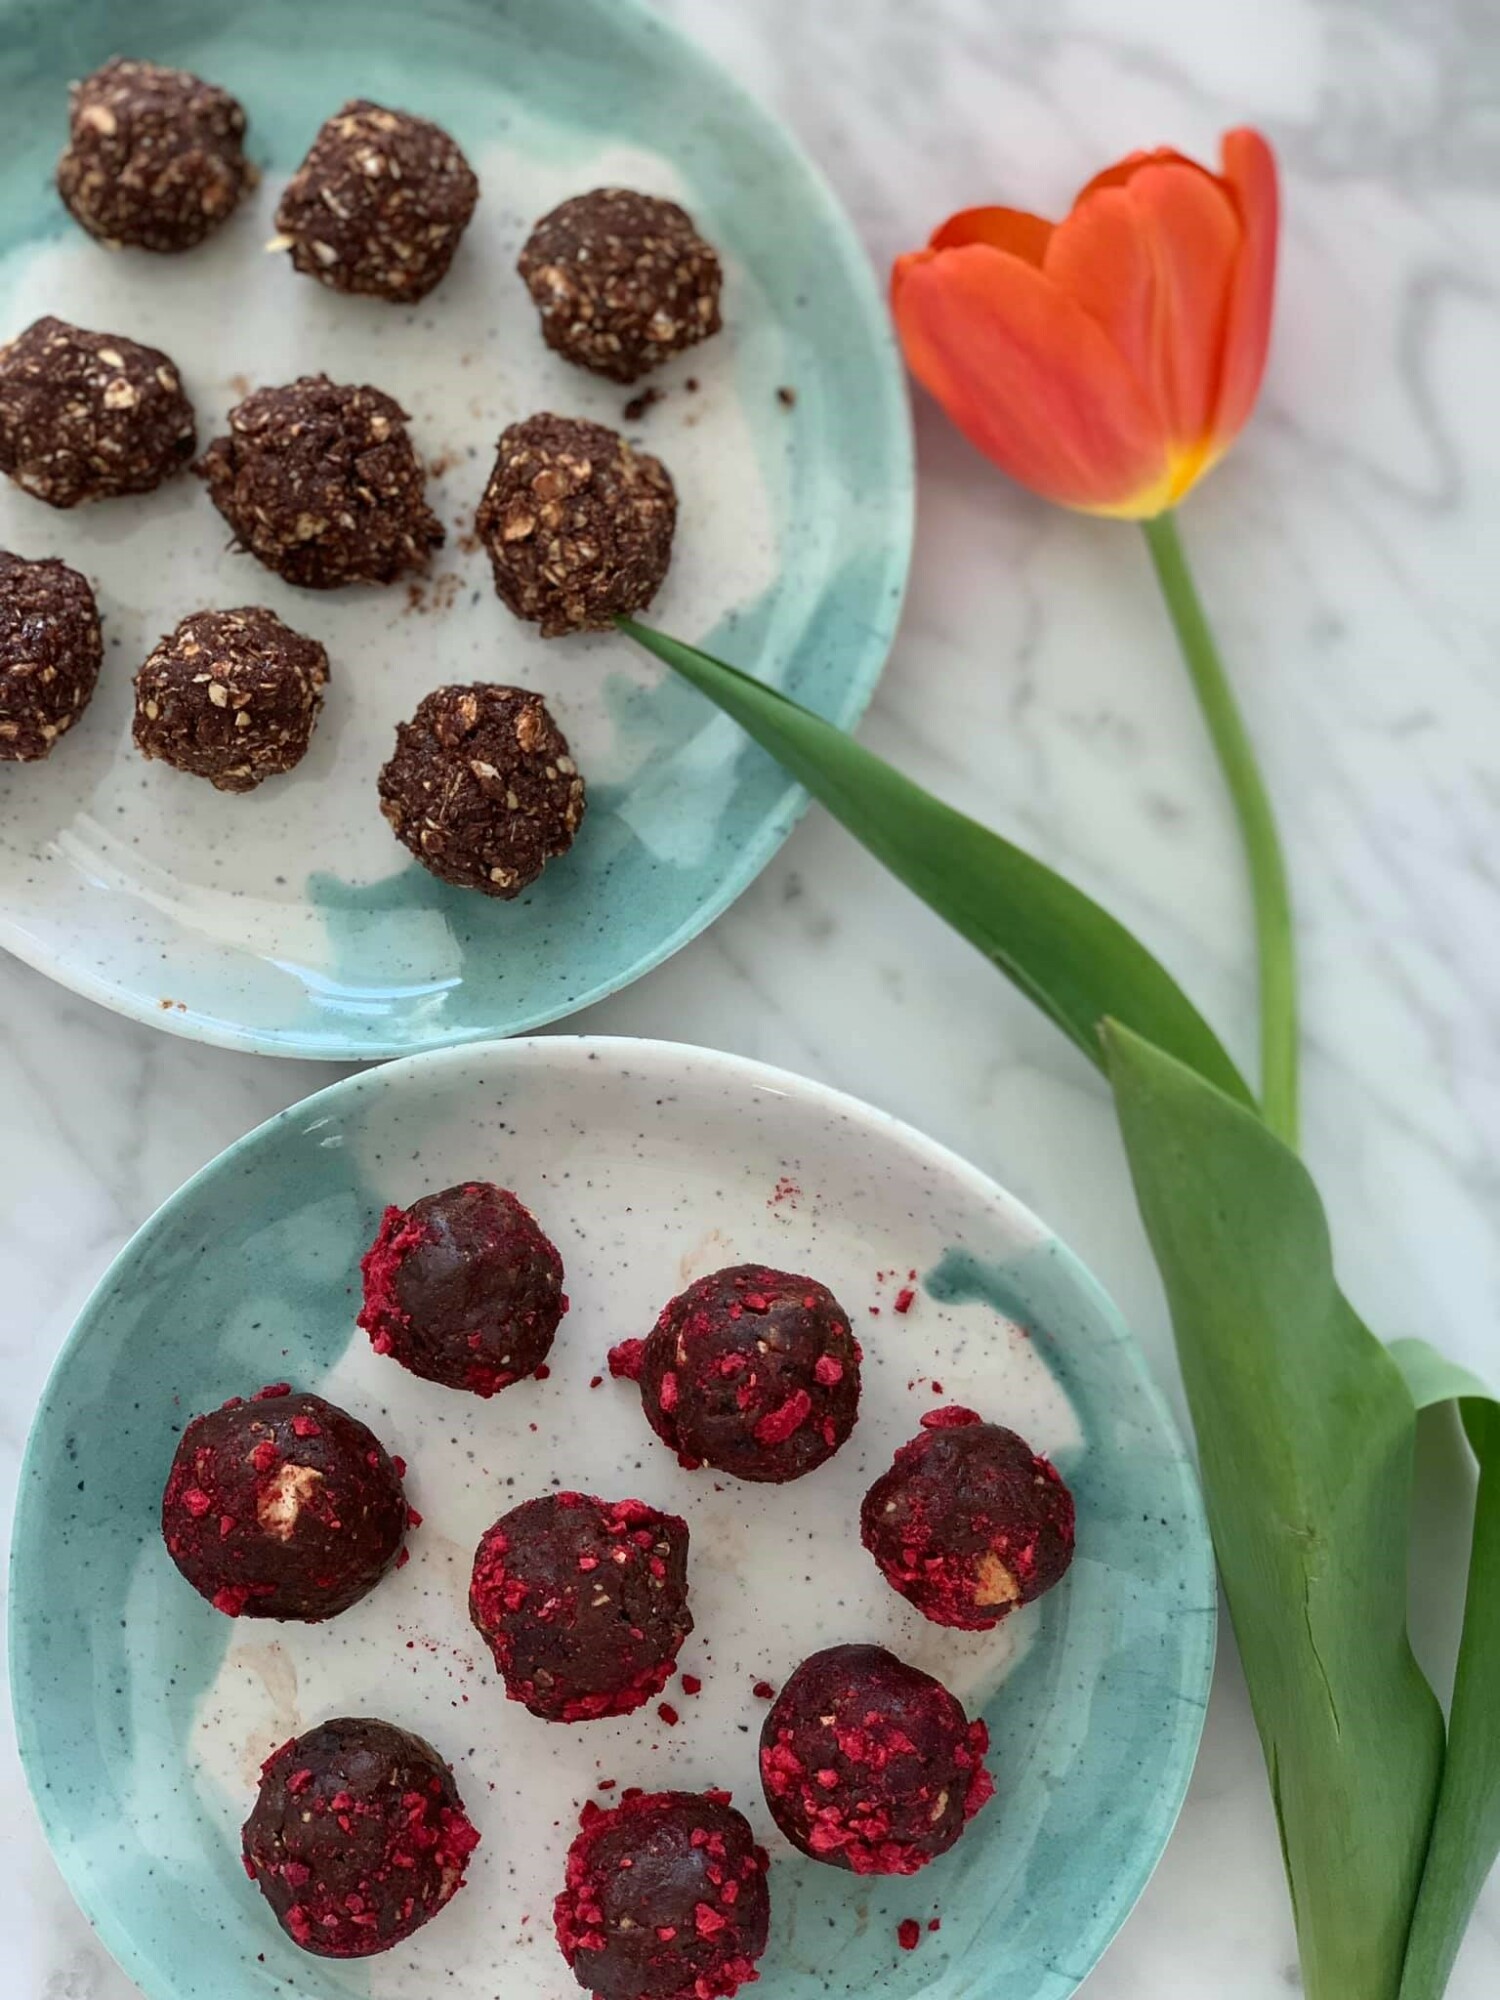
These power balls are quick and easy snacks to make...and they help keep the sugar cravings at bay! Both recipes only make ~12 1 inch power balls, but you could definitely make these smaller to get more from each recipe. Better yet, just double each recipe to make sure you have plenty to go around.
Prep Time: 15 min
Total Time: 15 min
Servings: 12 balls
Dark Chocolate Mint Power Balls
1 cup Rolled Gluten Free Oats
1/2 cup Organic Cacao Nibs (Fair Trade)
2-3 Tbsp Organic Cacao Powder (Fair Trade)
1/2 cup Organic Flaxseed Meal
1/2 cup Unsweetened Organic Crunchy Nut Butter like this one
1/3 cup local honey or Pure Maple Syrup
4 drops Peppermint Vitality Oil
1 tsp Organic Vanilla Extract
Recipe:
1. Mix all ingredients together with a strong spoon or with your hands
2. To form a ball, use ~2 Tbsp of ‘dough’ and roll between your hands.
3. Store in a sealed container in the fridge. Place waxed paper between the layers of power balls.
3. Store in a sealed container in the fridge. Place waxed paper between the layers of power balls.
4. Enjoy!!
Tips: If mixture is too dry, add some solid coconut oil or more nut butter. If it’s too sticky, add more oats, flaxseed meal, or cacao.
Notes: this recipe calls for organic, gluten free oats. Oats tend to be very heavily sprayed with toxic chemicals, so stay safe and buy organic. When buying cacao, always buy fair trade! Local honey may be beneficial in helping reduce allergy symptoms. Speaking of honey...want a sweeter recipe? Add sweetened nut butter or a little more honey or maple syrup. Want more mint? Add one more drop of Peppermint Vitality Oil....but remember....a little goes a LONG way with Young Living's Vitality Oils!
Prep Time: 15 min
Total Time: 15 min
Servings: 12 balls
Chocolate Raspberry Power Balls
Total Time: 15 min
Servings: 12 balls
Chocolate Raspberry Power Balls
1 cup Pitted Medjool Dates
1/4 cups nut of choice (ex: cashews, almonds, etc.)
3 tbsp unsweetened almond butter
2-3 tbsp Organic Cacao Powder (Fair Trade)
Crushed Organic Freeze-Dried Raspberries
Dash of salt
Recipe:
1. In a food processor, blend all the ingredients (except raspberries) together until a crumbly paste forms.
2. To form a ball, use 2 Tbsp of ‘dough’ and roll between your hands.
3. Roll each ball in freeze dried raspberry crumbles
4. Store in a sealed container in the fridge. Place waxed paper between the layers of power balls.
5. Enjoy!!
5. Enjoy!!
TIP: If the mixture is too sticky, lightly sprinkle balls with extra cacao powder
Makes about 12
Amazon is an easy place to order all of your ingredients, however you may occasionally find better pricing (and harder to find items) in a Trader Joe's or over at Thrive Market! Feel free to use my Thrive Market referral link to get 25% off your first order. Thrive will give you $25 in Thrive Cash when your friends use your referral link to shop...and your friends get 25% off their first orders.
Photo credit: Julie Cady
*This article may contain affiliate links to retail sites, such as Amazon. Using these links won't cost you additional money, but I may earn a small amount with each purchase. Earnings go to help cover the cost of this website, and I thank you for your support!
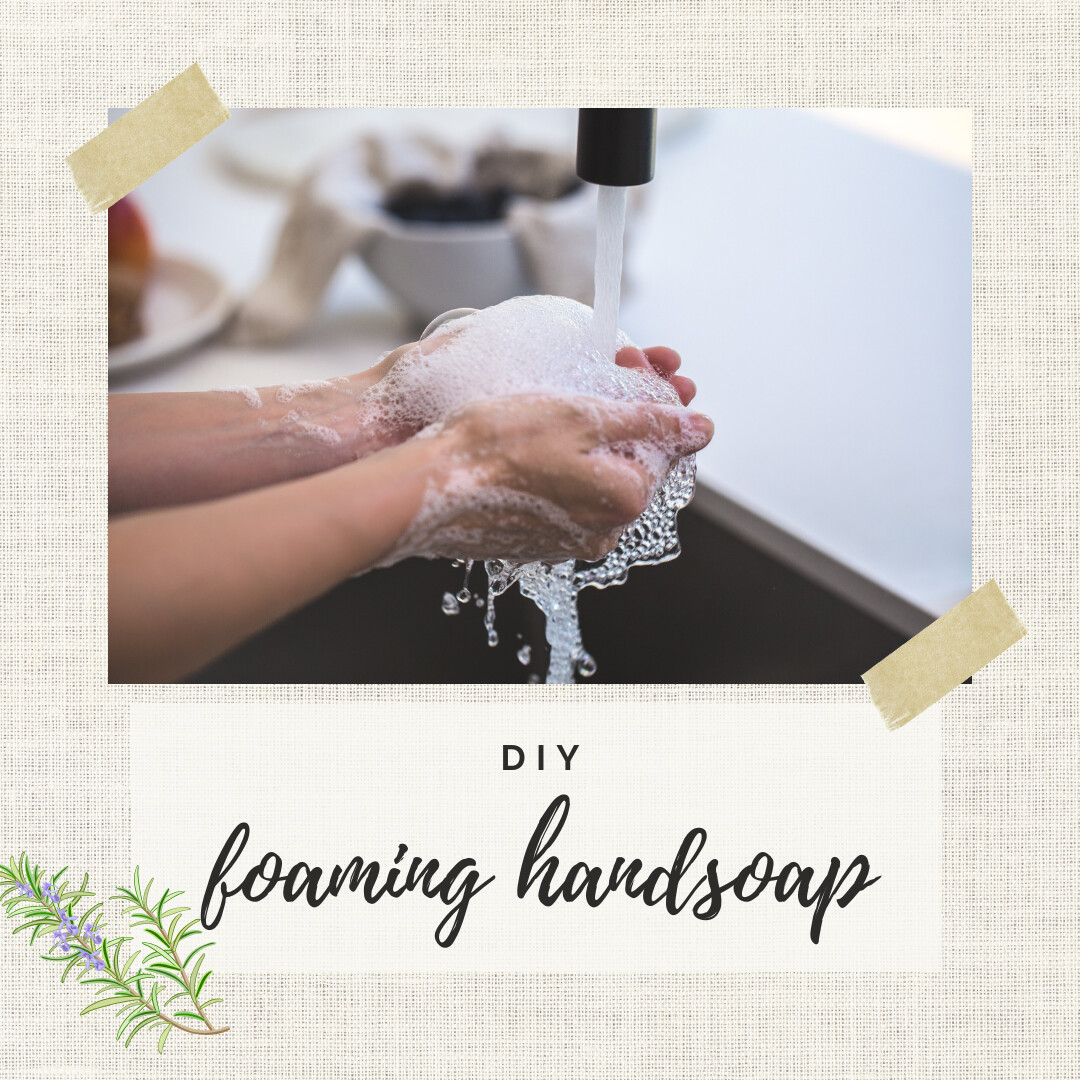
I don't know about you. but I love foaming handsoap because I end up using less soap and it rinses off so much easier.
Did you know you can make your own foaming handsoap? A DIY means I can use any combination of essential oils to give my soap the aroma I want....while avoiding toxins such as artificial fragrances, dyes, phthalates, sulfates, and other toxic ingredients.
There are tons of recipes out there, but the one I really like for an 8 oz container is:
1 tsp -1 Tbsp Sweet Almond Oil
10-20 drops of any Young Living essential oil you love
Water
Add the 1st three ingredients to the soap container. Stir. Add water to fill, leaving room for the pump. Enjoy!
These make great gifts too! And since there are so many combinations of Young Living Essential oils that you can use in this recipe you can customize each bottle to the recipient. Here are some of my favorite Young Living oils to use:
- Create the smells of Christmas with Christmas Spirit oil
- Lemon, Lavender, and Peppermint oils create a light, refreshing, and uplifting combo (use at a 1:1:1 ratio or mix the ratio up to your own taste)
- Citrus Fresh is perfect for the citrus lovers, an it has a bonus splash of mint
- Orange and Cinnamon Bark...can't go wrong there (just a couple of drops of Cinnamon Bark is plenty)
- Lushious Lemon...bright and happy! Young Living actually makes a foaming handsoap with this oil, but a DIY is fun in a pinch
Super cute soap dispensers are a plus here, and Amazon has a nice variety! Here are a few options:
- Rustic Farmhouse Style Bronze and Glass
- Rustic Farmhouse Style Brushed Nickel and Glass
- Masculine Amber Glass and Bronze
- Vintage Glass and Brushed Nickel
If convenience is your game, then try this:
...and if you're like I am and have a few Mason jars hanging about you can save some money and just buy the lid:
- Mason Jar Foaming Pump Dispenser Lid (for regular mouth jars)
Seriously y'all, the sky's the limit over at Amazon with styles!
So which oils did you use in your DIY foaming handsoap? Let us know your favorite recipe and oil combos below.
*This article may contain affiliate links to retail sites, such as Amazon. Using these links won't cost you additional money, but I may earn a small amount with each purchase. Earnings go to help cover the cost of this website, and I thank you for your support!
Infused olive oils make great gifts...and they're equally as great to keep for yourself!
This recipe makes a 4 ounce bottle, which is just enough to drizzle over an entire 9x13 pan of veggies for roasting or several pieces of meat (chicken thighs are our favorites). It's fantastic for pan frying veggies (we love squash done this way) and you can even fry eggs in it too!
Be sure to add salt and pepper to taste to your dish.
Ingredients:
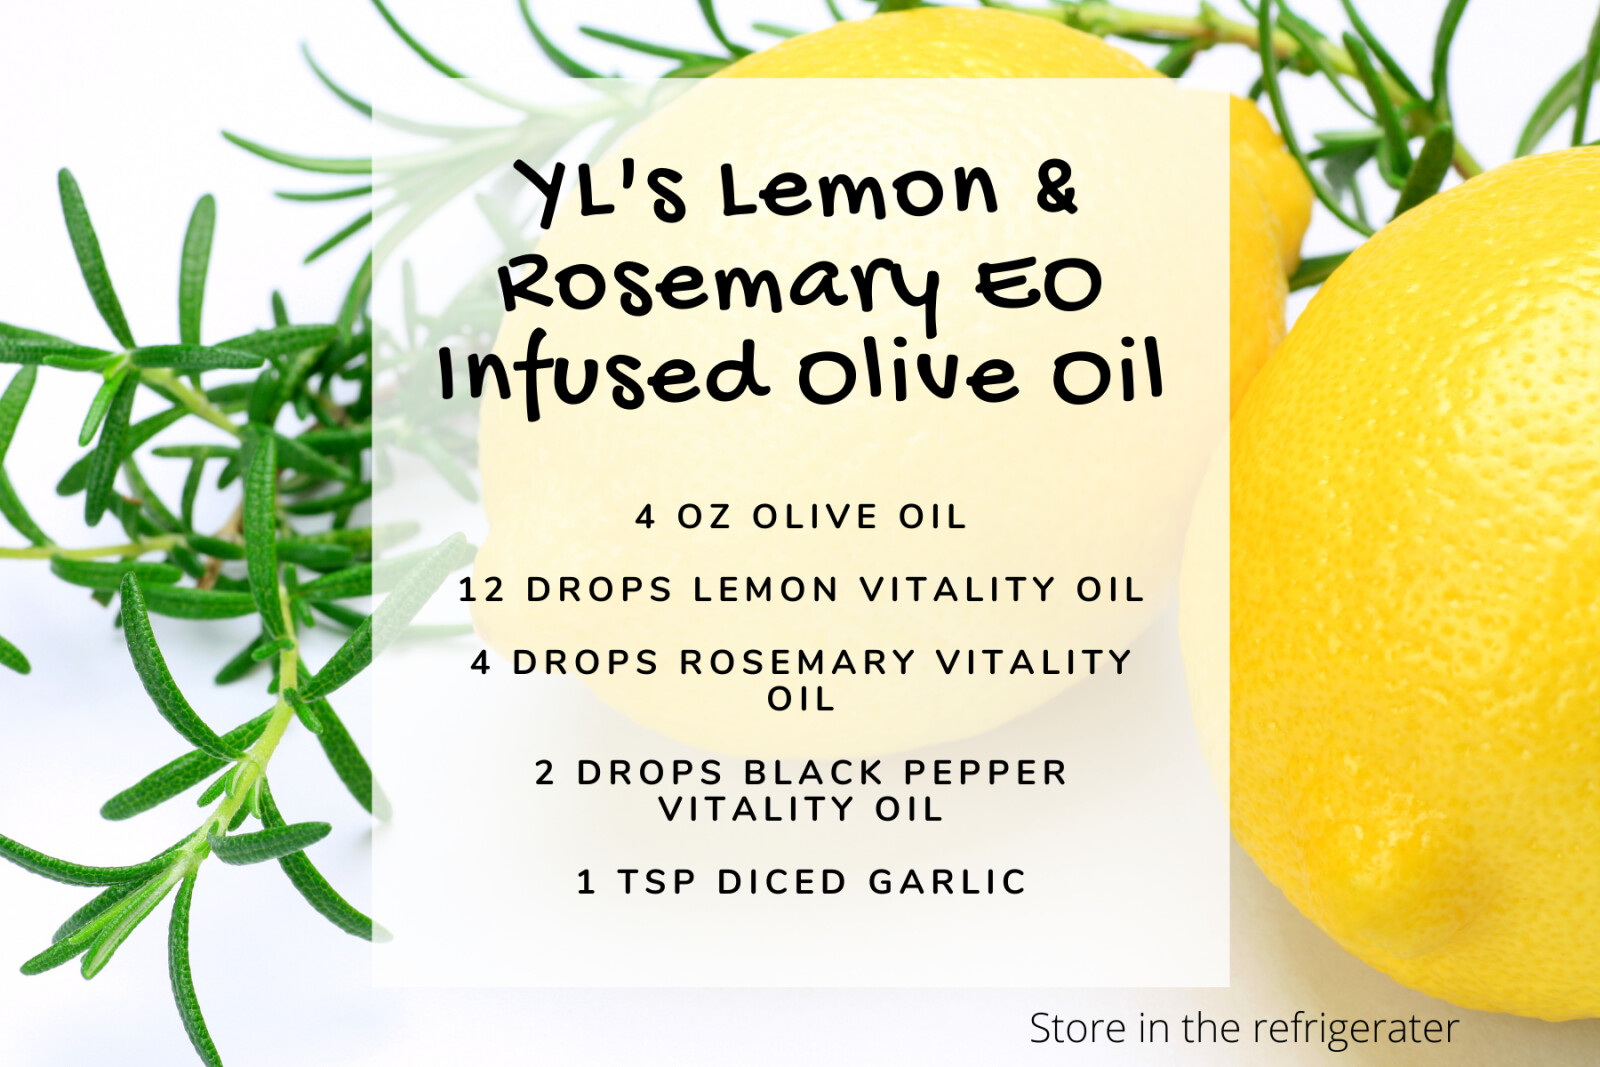
4 oz Olive Oil
12 drops Lemon Vitality Essential Oil
4 drops Rosemary Vitality Essential Oil
1 tsp diced garlic
Mix well and add to a 4 ounce glass bottle like this one (never use plastic with citrus oils). Store tightly sealed in the fridge.
Use this blend to:
- Top veggies for roasting
- Pan fry meats, veggies, eggs, etc
- Add to white wine vinegar to create a marinade
- Drizzle over salad greens
Ever wonder which olive oil is best for your cooking? This article helps break all of that down. Here's a link to one of the olive oils they recommend.
Ready to take it up a notch?
- Try making a bunch of these to give as gifts! Purchase this 16 pack of 5 oz Glass Bottles at a great price. They even have a heat seal option for a professional looking finish.
- Finish things off with a custom printable tag, hung with some raffia. Here are both the pdf and jpeg versions of a cute tag for you to print out.
*This article may contain affiliate links to retail sites, such as Amazon. Using these links won't cost you additional money, but I may earn a small amount with each purchase. Earnings go to help cover the cost of this website, and I thank you for your support!
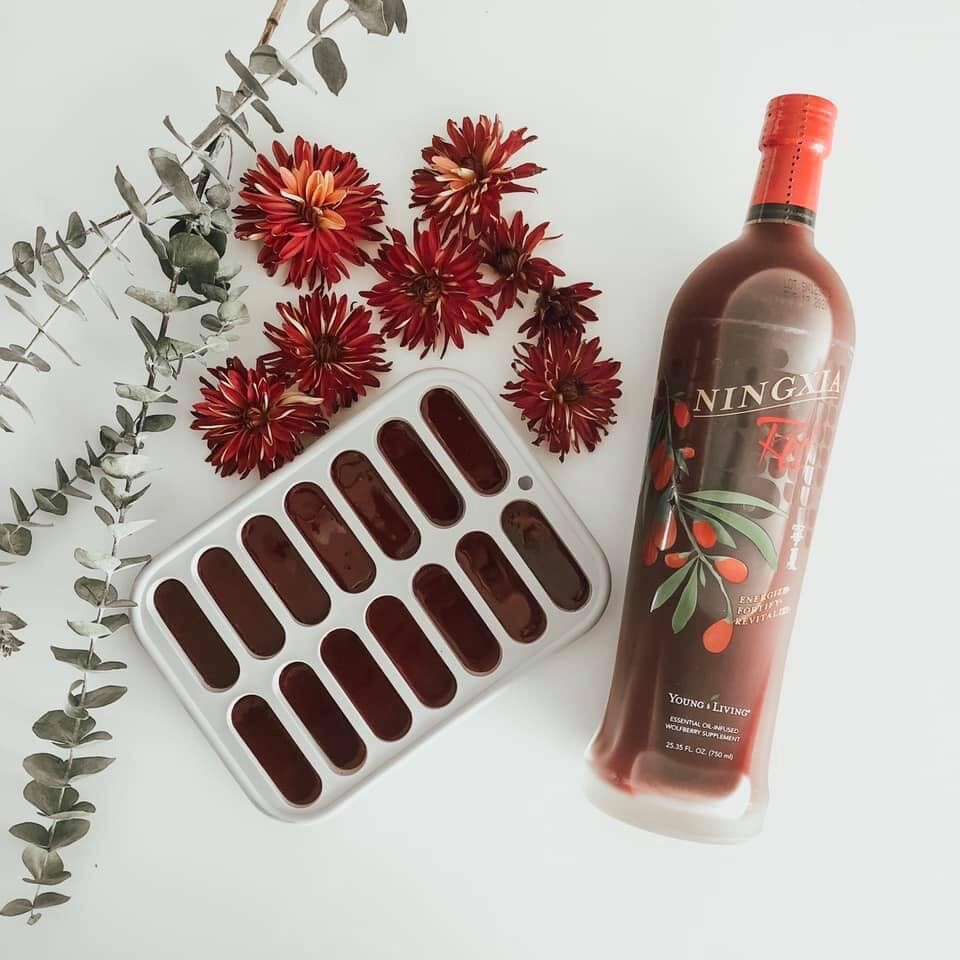
Ready for a DIY, cool, healthy treat? Try making your own NingXia Red popsicles! Loaded with antioxidants and only natural sugars, this recipe is sure to bring a smile to your face.
Ingredients:
6 ounces NingXia Red
12 ounces Apple Juice
4-6 drops Tangerine Vitality Essential Oil
Instructions
Mix all ingredients and essential oils. Stir to combine. Add to stainless steel popsicle molds (always avoid plastic with citrus oils). Leave about 1/4 inch at the top for expansion. Place in freezer for 4-5 hours, or until frozen. Run under warm water to easily remove popsicle from mold.
Photo credit: unknown
*This article may contain affiliate links to retail sites, such as Amazon. Using these links won't cost you additional money, but I may earn a small amount with each purchase. Earnings go to help cover the cost of this website, and I thank you for your support!
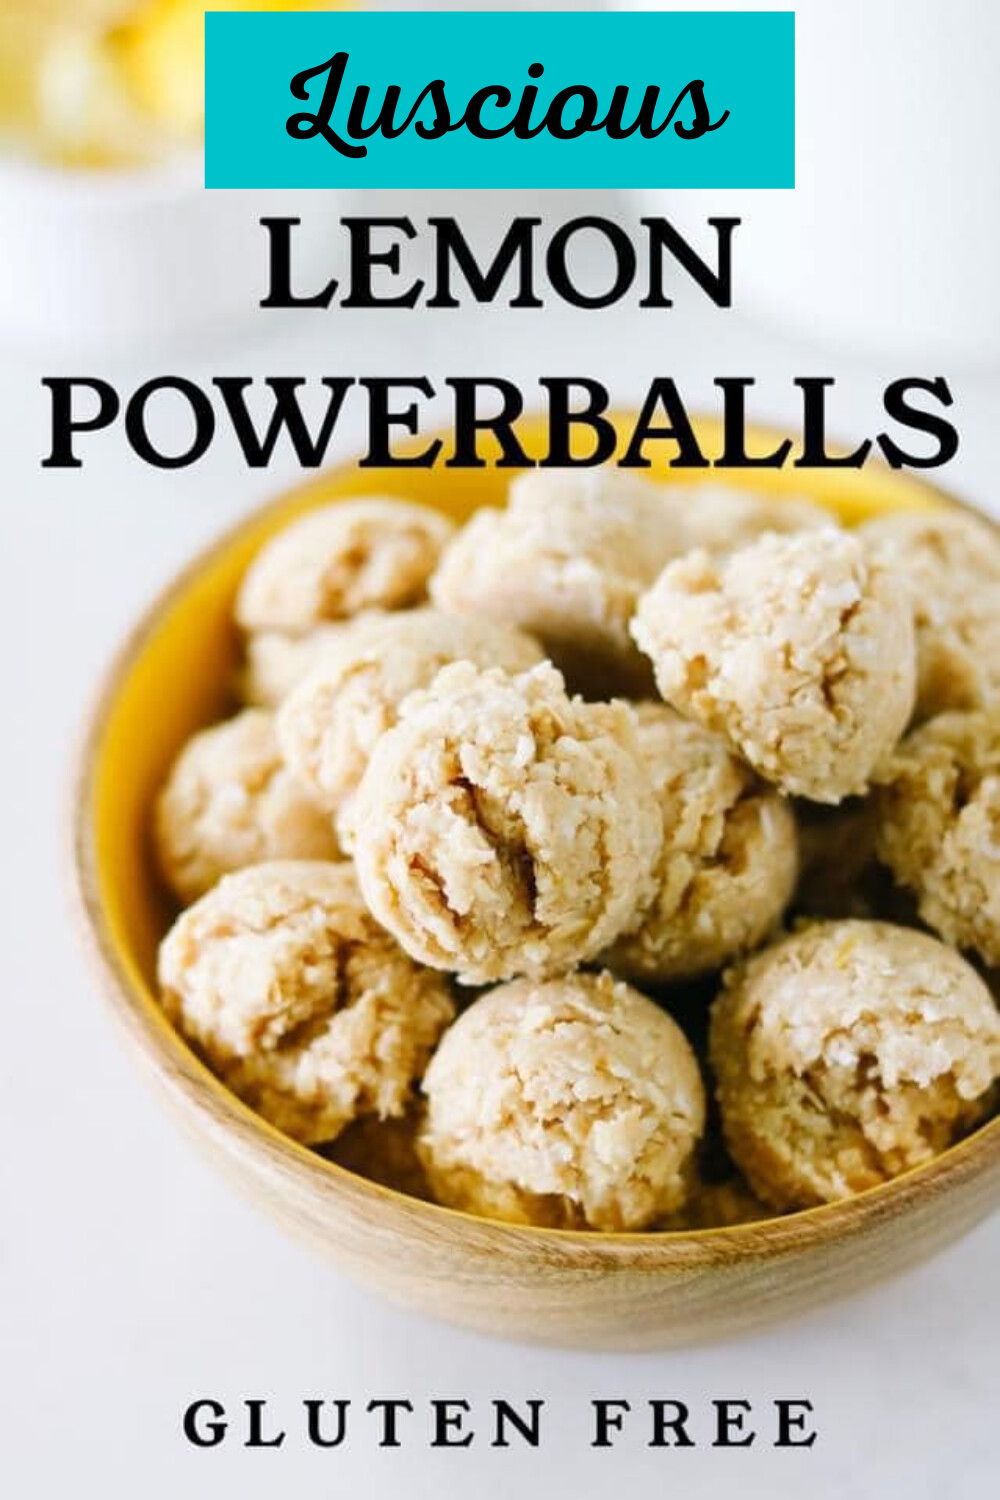
It's tough to find recipes for protein-packed powerballs that aren't loaded with nut butters. This nut-free recipe makes a perfect treat that is fast and easy to whip up for any time of the year!
Prep Time 15 minutes
Total Time 15 minutes
Servings 35 balls
Total Time 15 minutes
Servings 35 balls
2 cups Gluten Free Organic Old Fashioned Oats ground fine
1 cup Coconut Butter
2/3 cup Honey
1/3 cup Unsweetened Shredded Coconut
1 scoop Vanilla Spice Pure Protein Complete
2 Tbsp Zest from an Organic Lemon
1 tsp Vanilla Extract
10-15 drops Lemon Vitality Essential Oil
dash Sea Salt
I like to use my Vitamix bender for this. Grind until you get an almost flour consistency. It's better to over blend your oats than under blend, because you need your ingredients to stick together sufficiently. If your oats are too course you'll end up with a very crumbly “dough”.
Mix all dry ingredients together in a bowl.
Your coconut butter needs to be soft, but not melted...think "Peanut butter" consistency. Add all wet ingredients together and stir.
Here's where a Kitchen Aid mixer with a paddle attachment is helpful, otherwise it's a great chance to strengthen those arm muscles. Add your wet ingredients to your dry ingredients and mix on low speed until a "dough" forms.
Scoop the “dough” with a medium cookie scoop onto a parchment lined cookie sheet...or just scoop up a smidge with your hands...and roll into balls. Freeze for a minimum of 20 minutes to set the coconut butter. Powerballs will be hard. Store covered in the fridge. Enjoy!!
NOTE: Products such as Gluten Free Organic Old Fashioned Oats, Coconut Butter, Honey, and Unsweetened Shredded Coconut can be readily found online at Thrive Market at really good prices! Use this link to get 25% off your first order. Be sure to click the header at the top of the new page to accept the 25% off offer.
Photo & recipe credit: Karen Wolff

